Requirements:
1/4yrds Fabric, Interfacing, Pins, Scissors and a Sewing Machine.
Step 1
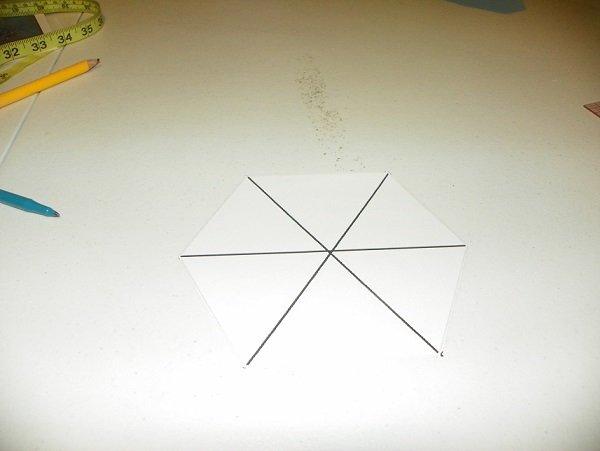
Cut out a Hexagon shape on a paper. Or you can go to Hillbilly’s blog and print out whichever hexagon shape you want. This is going to be used as a template/pattern for the coasters.
Step 2
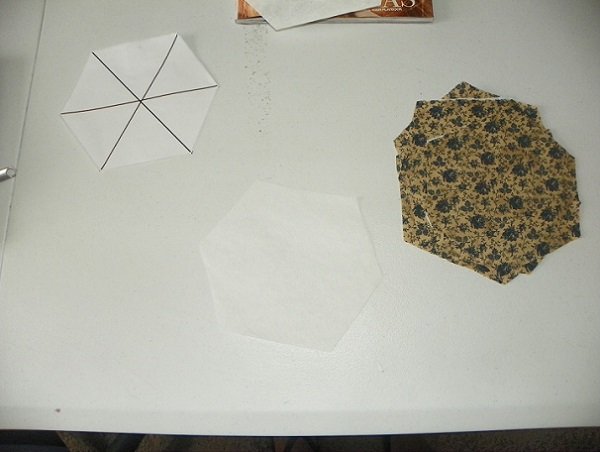
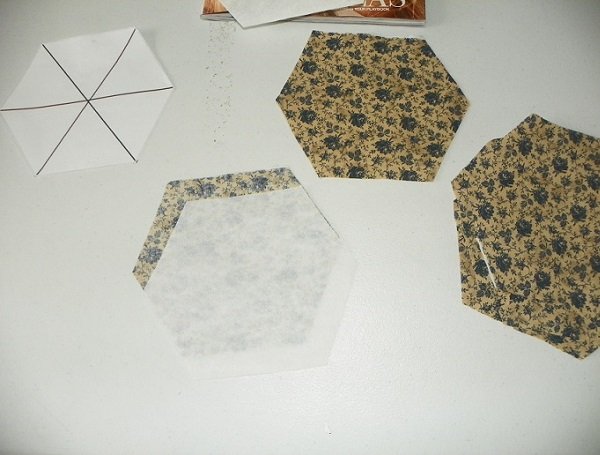
Cut 2 pieces for each coaster you’re making. I will be making 4 cup coasters so I cut out 8 hexagons of fabric.
Step 3
Cut 1 piece of interfacing for each coaster you’re making. I cut 4 because I’m making 4 coasters.
Step 4
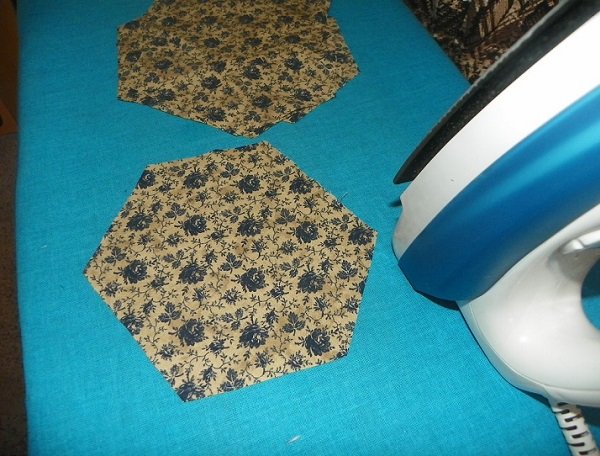
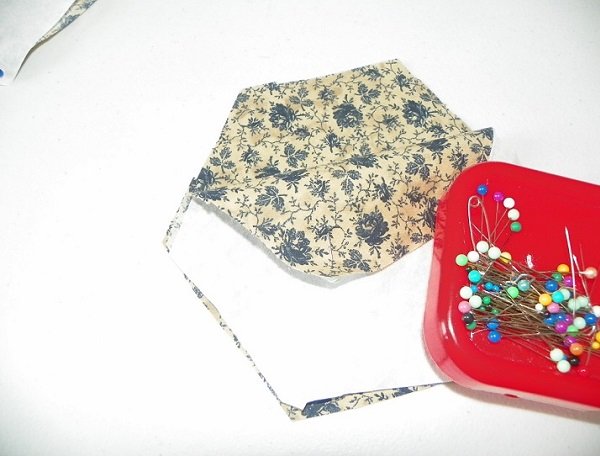
Place the interfacing on the wrong side of the fabric. If you’re using fusible interfacing you can iron it on the wrong side of the fabric just like the photo above.
Step 5
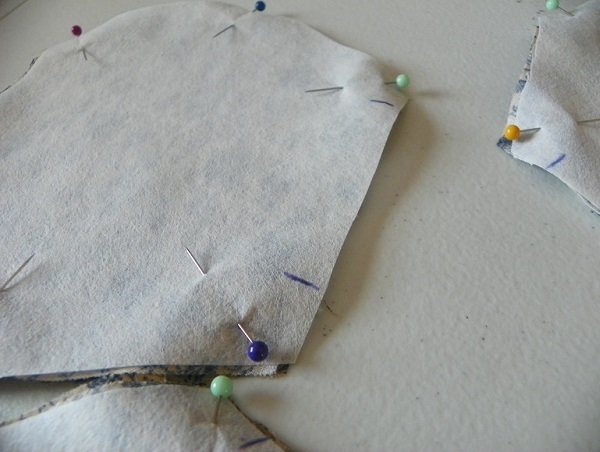
Align the 2nd part of the fabric to the right side of the coaster and pin together. Remember we cut 2 hexagon fabric for each coaster so the 2nd part is aligned with the right side of the fabric with the interfacing attached at the other side. i.e 2 right sides together.
Step 6
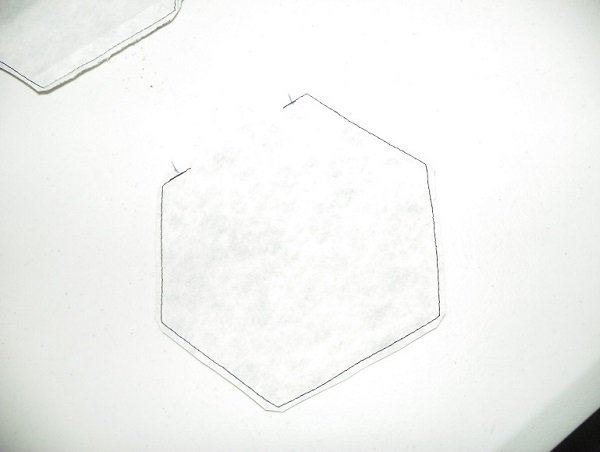
At one side mark 3/4″ or 1″ from the edge as shown above.
Step 6
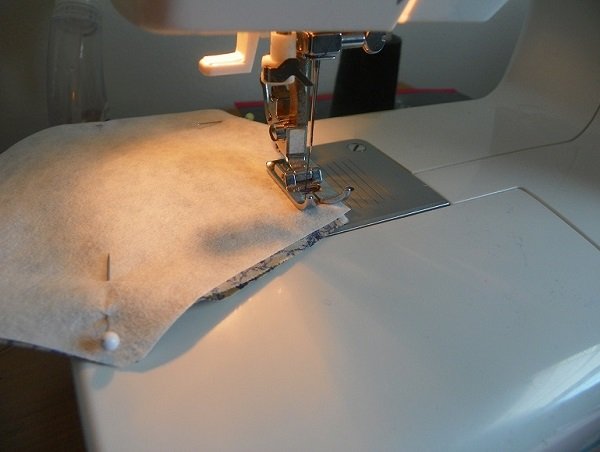
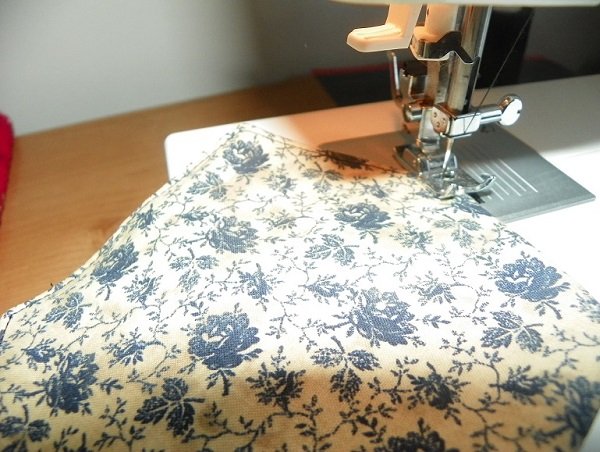
Sew along the edges starting from one marked end to another pivoting the presser foot at each hexagon edges. Sew with 1/4″ seam allowance.
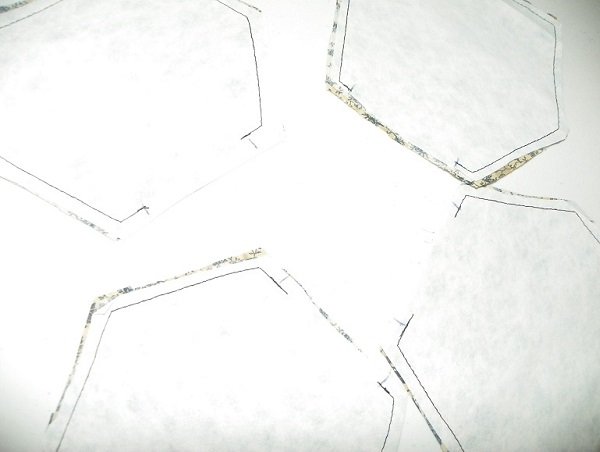
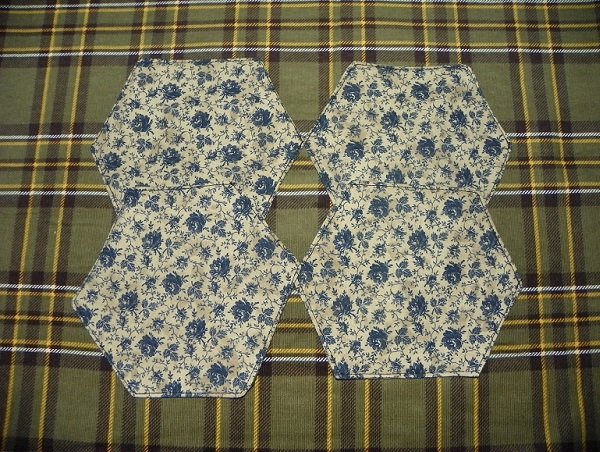
Here are my 4 coasters showing the beginning and the end of each coaster stitches.
Step 7
Cut the corners and trim the edges but be very careful not to cut through the stitch.
Step 8
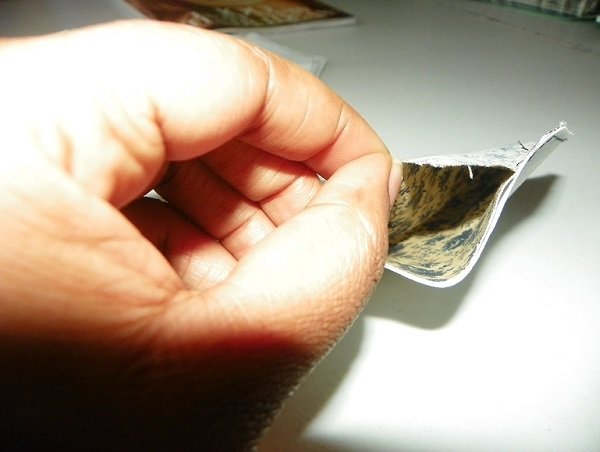
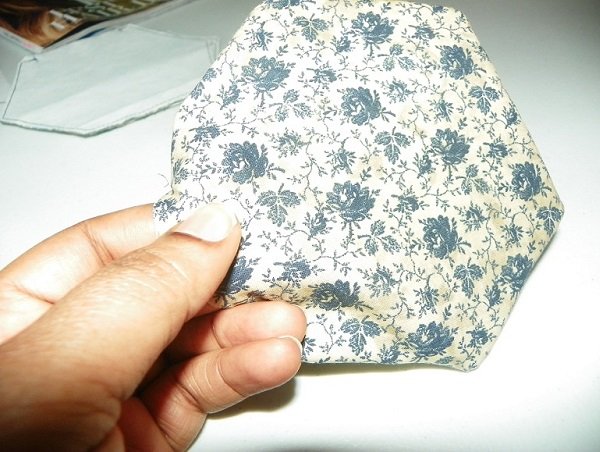
Open up the little space not sewn just as the photo above and turn it inside out like the photo below.
Step 9
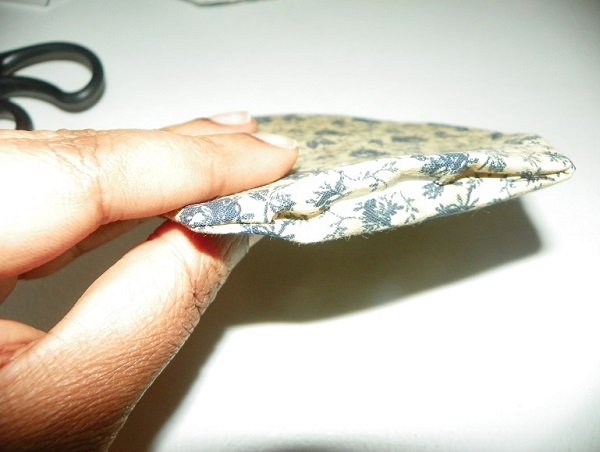
Tuck in the open space i.e the excess fabric and edge stitch all around the hexagon.
Here is the finished project.
You can mix match the colors and fabric to match your kitchen or dining decorations.
I used that tartan fabric in the background in sewing a bohemian skirt Here.
You can comment or email me if you have any questions.
Thanks for stopping by my blog today
Xoxo
Twitter // Instagram // Facebook // Pinterest // Youtube







2 Comments
[…] DIY Cup Coaster TutorialApril 2, 2014 […]
[…] Here is the video of the previous Cup Coaster photo only tutorial that I posted 3 days ago. Here […]